Purpose of the Blog
This guide is designed for truck drivers, fleet owners, and DIY enthusiasts aiming to understand, diagnose, and maintain semi-truck HVAC systems. By empowering readers with knowledge and practical steps, we aim to enhance comfort, ensure safety, and reduce downtime—ultimately saving money and improving efficiency.
Tools Needed
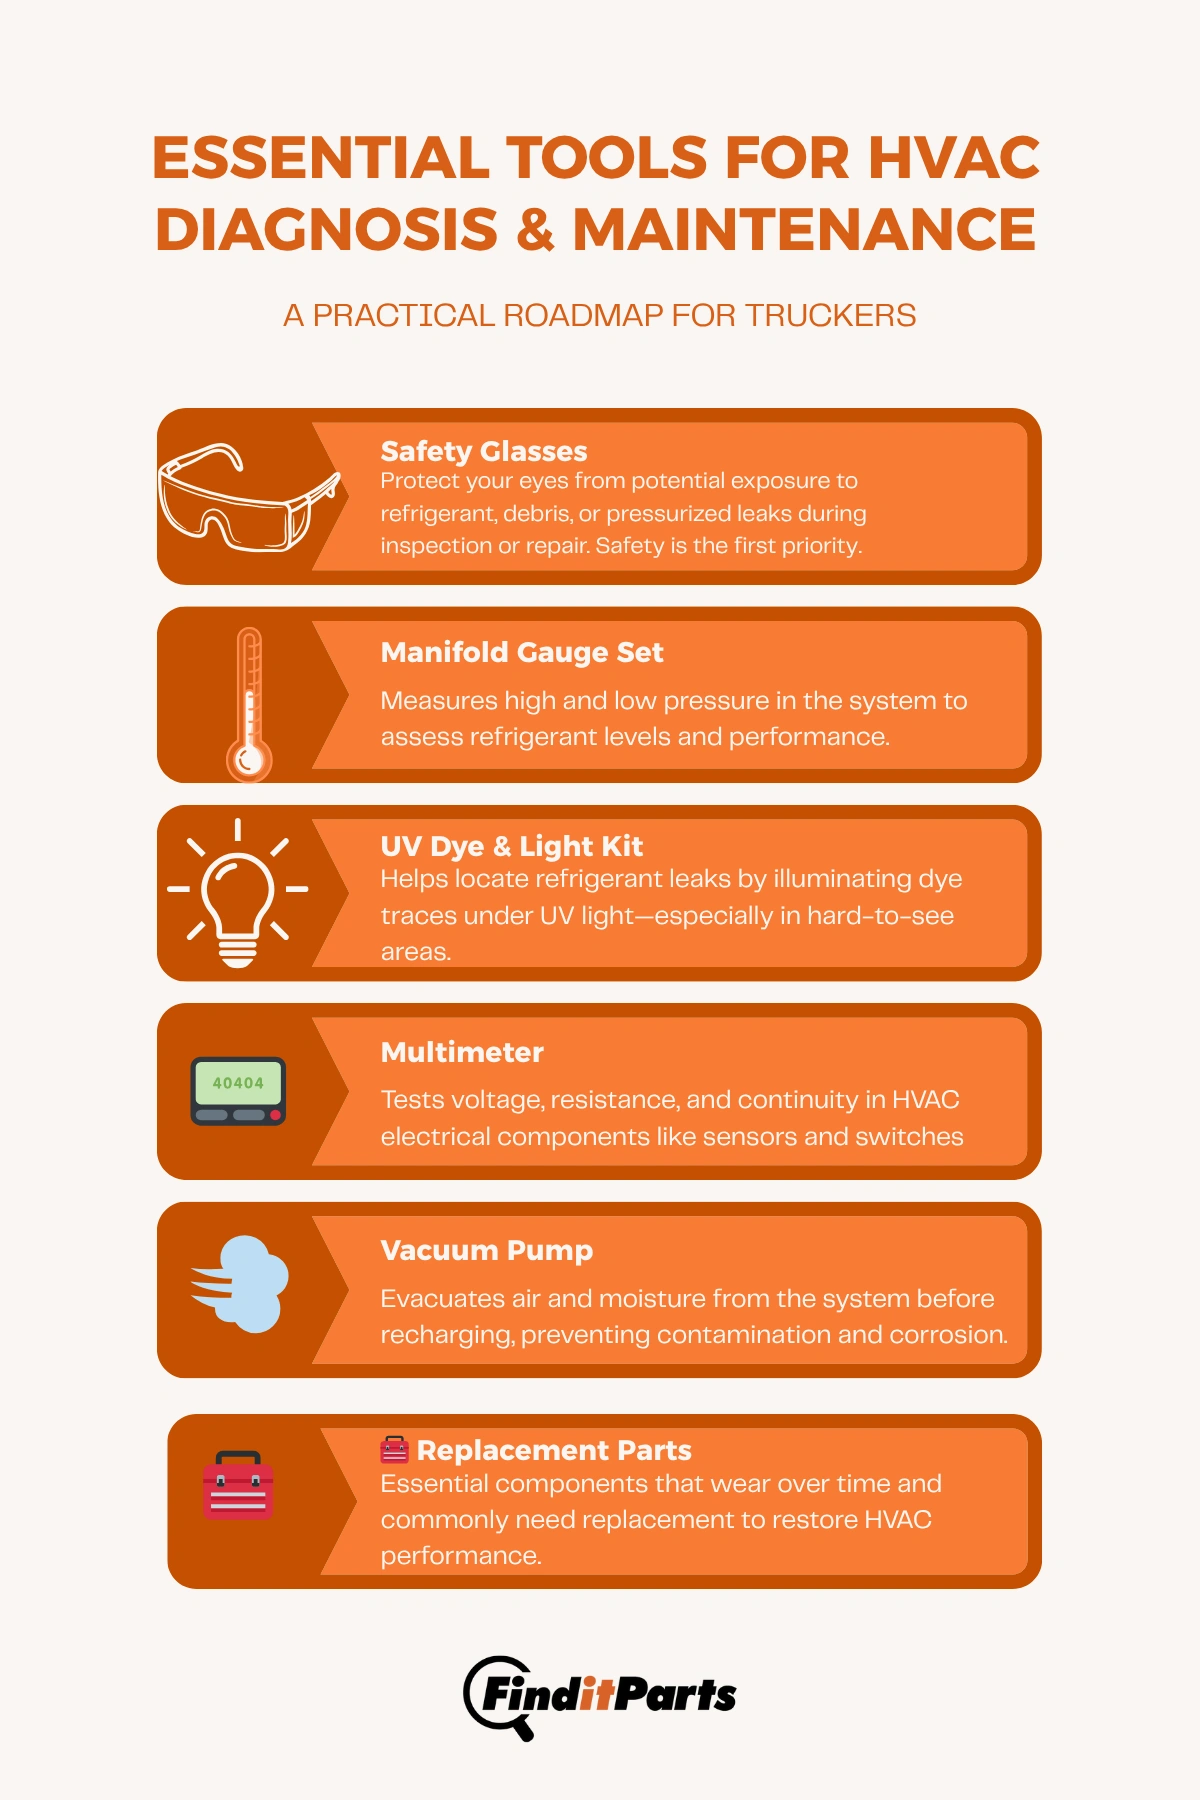
Important Note: Technically, individuals must be EPA 609 certified to handle more than 2 lbs of R-134a refrigerant. Venting refrigerant into the atmosphere is illegal and harmful to the environment. While it’s not typically an issue for individuals buying small retail cans, it’s a legal requirement for repair shops and larger-scale handling.
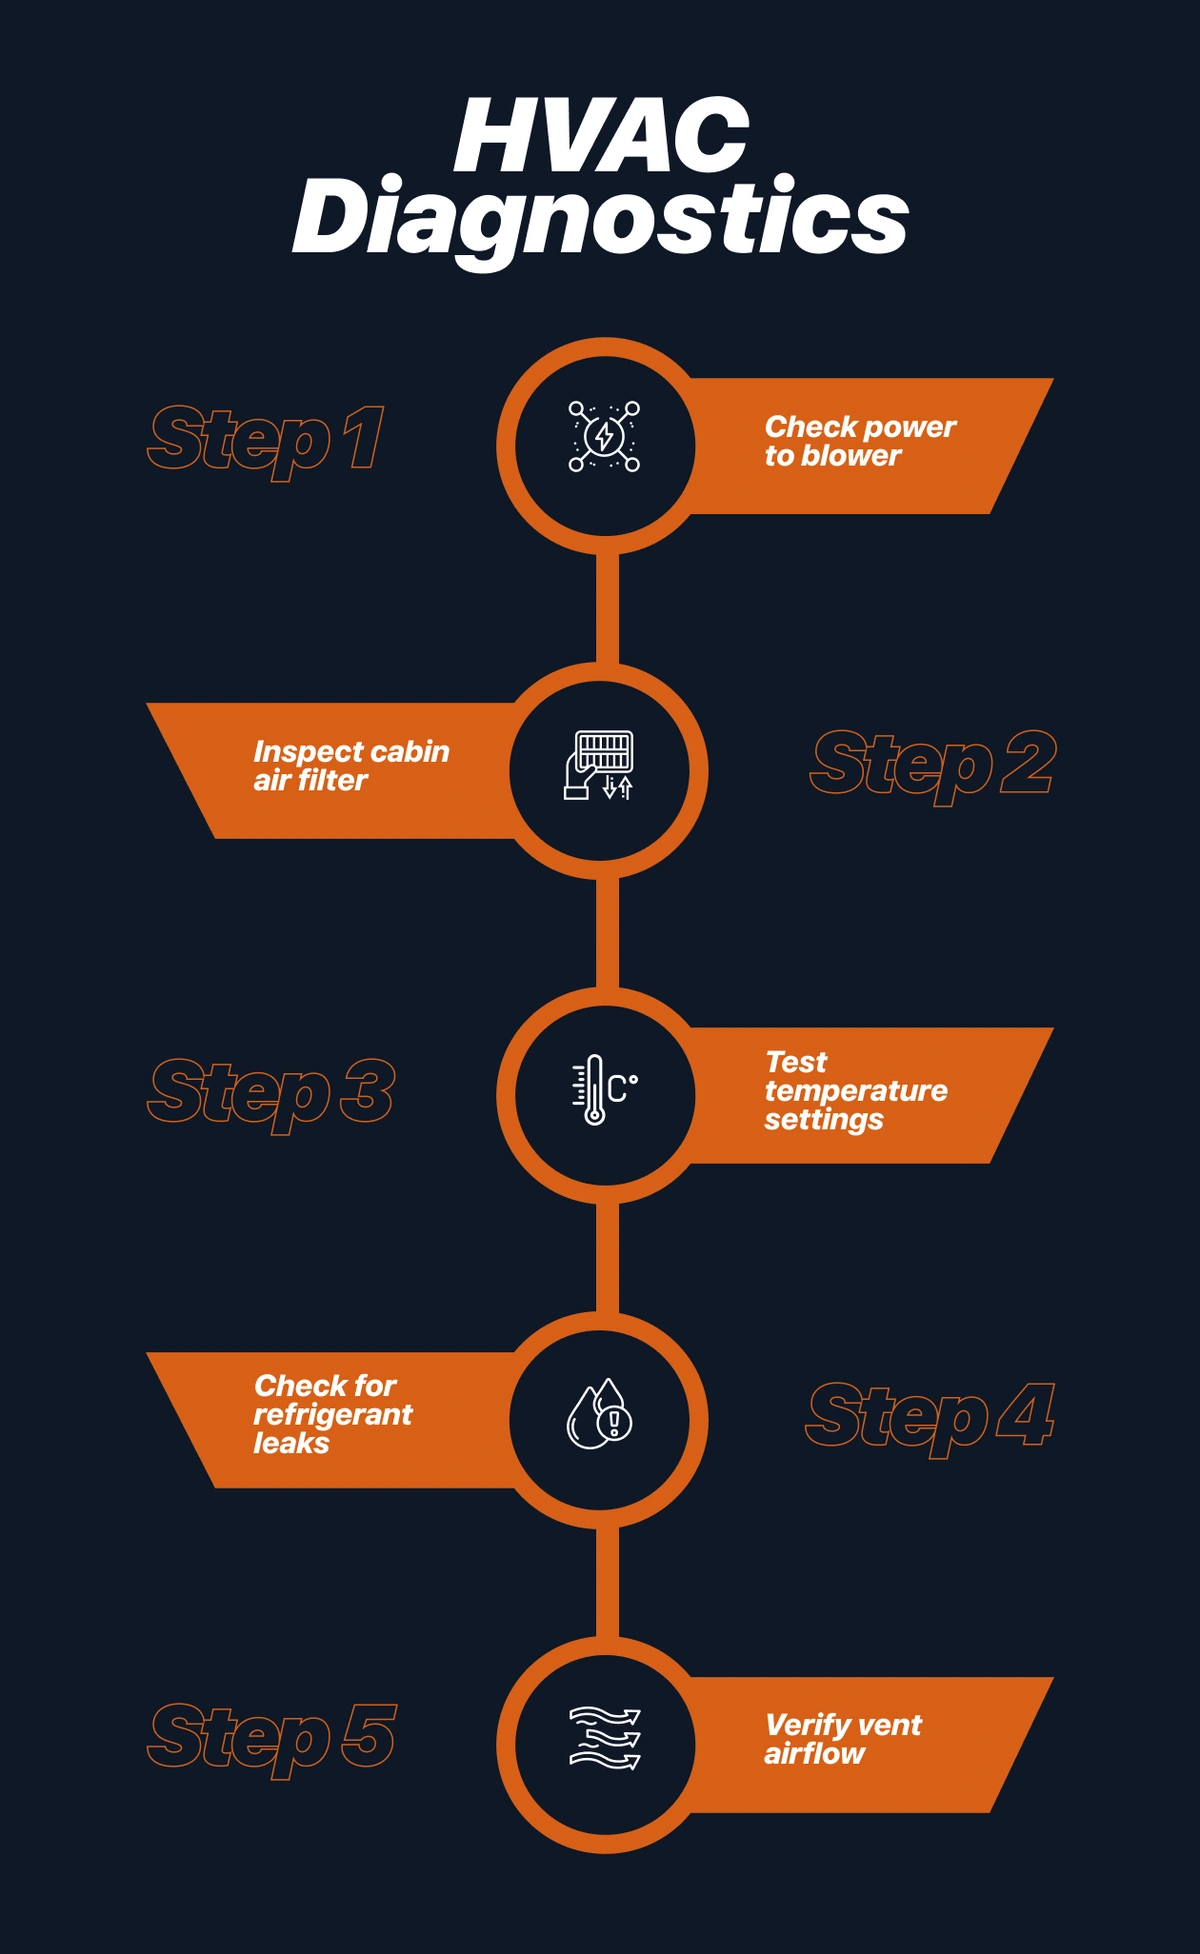
Step-by-Step HVAC System Diagnosis
1. Safety First
2. Initial Inspection
-
Visual Check: Look for signs of wear, damage, or leaks in hoses and connections.
-
Listen: Unusual noises like clanking or hissing can indicate issues.
-
Smell: Musty odors may suggest mold or mildew in the system.
3. Compressor Functionality
-
Start the engine and set the AC to maximum.
-
Observe the compressor clutch; it should engage and disengage smoothly.
-
If the clutch doesn't engage, check for electrical issues or low refrigerant levels.
4. Refrigerant Levels
-
Connect a manifold gauge set to measure high and low-pressure sides.
-
Compare readings to the manufacturer specifications.
-
Low readings may indicate a leak; use UV dye and a black light to locate it.
-
Check Schrader valves in charging ports—these are a common leak point.
5. Condenser and Evaporator Coils
6. Cabin Air Filter
7. Electrical Components

Common HVAC Issues and Solutions
Issue: Weak or No Airflow
Cause: Clogged cabin air filter or faulty blower motor.
Solution: Replace the air filter and inspect the blower motor for proper operation.
Pro Tip: If the fan only works on the highest setting, the blower motor resistor is likely the culprit—not the blower motor itself. This is a common mistake that leads to unnecessary part replacements.
Issue: AC Blows Warm Air
Cause: Low refrigerant levels or compressor failure.
Solution: Check for leaks, recharge the system, or replace the compressor if necessary.
Issue: Unusual Noises
Cause: Loose belts or failing compressor clutch.
Solution: Tighten or replace belts and inspect the compressor clutch for wear.
Issue: Foul Odors
Cause: Mold or mildew in the evaporator.
Solution: Clean the evaporator coils and replace the cabin air filter.
Issue: System Opened for Repair
Cause: When the AC system is opened—such as removing a line, compressor, or expansion valve—it becomes exposed to ambient air.
Solution: Always replace the receiver drier in these cases. The desiccant inside the drier removes moisture drawn in during exposure. Ignoring this step can reduce system efficiency and cause internal corrosion.
Maintenance Tips for Longevity
-
Regular Inspections: Schedule periodic checks of the HVAC system to catch issues early.
-
Clean Components: Keep the condenser and evaporator coils clean to maintain efficiency.
-
Replace Filters: Change cabin air filters every 15,000 to 30,000 miles or as needed.
-
Monitor Refrigerant: Ensure refrigerant levels are within the recommended range.
-
Check Belts and Hoses: Look for signs of wear and replace as necessary.
Find the Right Parts at FinditParts
Whether you're replacing a compressor, cabin filter, blower motor resistor, or receiver drier, FinditParts offers a wide selection of OEM and aftermarket HVAC parts to meet your semi-truck’s needs. Our extensive inventory ensures you get the right part fast—so you can get back on the road with confidence.