Need help? We're here!
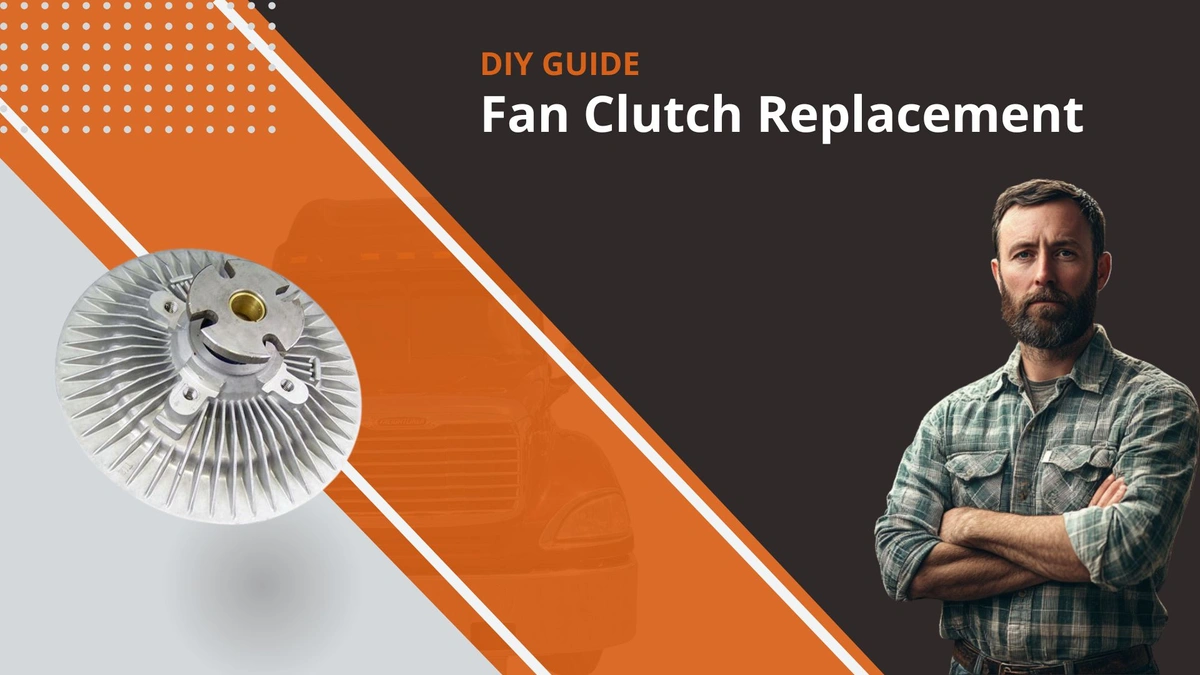
(888) 312-8812 Login SignupHow to Replace a Fan Clutch on a Semi Truck: A Step-by-Step Guide
FE
FinditParts Editorial Team
November 01, 2024
When your fan clutch starts to leak or shows signs of wear, it’s essential to replace it promptly to avoid potential cooling issues that can damage your engine. This guide is crafted for truck drivers, fleet owners, and DIY-ers who want to take matters into their own hands, saving on repair costs by learning how to replace a fan clutch
.Tools Needed
-
Wrenches (various sizes)
-
Socket set (including 14mm, 5/16 inch)
-
Pry bar
-
Allen wrench (5/16 inch)
-
Torque wrench
-
Channel locks
-
Penetrating oil
-
Brake cleaner
-
Silicone lubricant (for O-ring)
Step-by-Step Instructions
1. Prepare for Disassembly
-
Inspect the fan clutch and surrounding parts for leaks or visible wear. If the fan clutch is leaking, proceed with disassembly.
-
Remove any obstructing parts like the charge air pipe. Plug any open holes to prevent debris from entering. Early attention to signs of wear can help avoid more complex repairs down the road, much like replacing a leaking air tank on a semi truck.
2. Remove the Fan Blade and Shroud
-
Detach the fan blade: Loosen the six nuts attaching the fan blade to the clutch. This may require releasing the fan belt to allow for extra room.
-
Gently pull the fan shroud back: Avoid damaging the shroud or nearby components. You may need to remove radiator supports or clamps to create more space. Taking the time to handle these parts carefully is one of the many ways to keep your truck roadworthy and prevent small repairs from turning into major breakdowns.
3. Take Off the Old Fan Clutch
-
Carefully loosen the cap nuts using a 5/16-inch Allen head socket. Be gentle and avoid stripping the heads, which can complicate the process.
-
Pull the old fan clutch away from its mount, making note of the alignment. Knowing exactly how to fix your truck’s engine fan properly during this stage ensures you don’t run into alignment issues when you go to bolt everything back together.
4. Inspect and Clean the Mounting Area
-
Clean the mounting area with a rag and brake cleaner, removing any oil or debris. If oil is present, it could indicate compressor issues worth checking further.
5. Prepare the New Fan Clutch for Installation
-
Lightly apply a silicone lubricant to the O-ring on the new clutch for smoother installation. Using the necessary lubricants that keep your truck in peak condition is key to preventing leaks and ensuring a proper seal during reassembly.
-
Ensure the clutch aligns with the mount and has the correct hardware for your specific truck model.
6. Attach the New Fan Clutch
-
Place the new clutch on the mount, aligning the holes for the cap nuts.
-
Carefully insert and tighten each cap nut, using the torque wrench to tighten them to your truck’s specific torque spec. Proper torque prevents unnecessary vibration and wear.
7. Reinstall the Fan Blade and Shroud
-
Position the fan blade back on the clutch and secure it with the appropriate nuts, tightening them to spec.
-
Reattach the fan shroud, securing any supports or brackets loosened during disassembly. Reinstall the fan belt if removed.
8. Final Checks
-
Manually rotate the fan blades to ensure they don’t contact the shroud.
-
Start the truck and activate the fan (if equipped with a manual switch) to ensure smooth operation.
Verifying these repairs as part of your regular routine is one of the best maintenance tips for longevity that can help you get the most out of your rig.
Safety Tips
-
Use the correct torque specs to ensure parts are securely fastened. Loose or over-tightened parts can lead to costly repairs.
-
Wear gloves and safety goggles, especially when working with penetrating oil and cleaning chemicals.
Common Issues
-
Tight Clearance: Working space can be limited, making it helpful to have an extra pair of hands for this job.
-
Stripped Cap Nuts: If nuts are stripped during removal, use penetrating oil and a suitable tool to minimize further damage.
Maintenance Tips
-
Regularly inspect your fan clutch for signs of wear or leaks to avoid costly repairs down the line.
-
Consider replacing fan belts while the fan clutch is disassembled to save time and effort.
Replacing a fan clutch requires patience and precision, but with the right tools and guidance, it’s a task that can be tackled by any dedicated DIY-er. To find the best quality fan clutches, fan hubs, and other engine cooling parts, check out FinditParts for a comprehensive selection of OEM and aftermarket options to keep your rig in peak performance.
Watch DIYSEMI’s video for a step-by-step visual on this job and snag an exclusive discount to make your next project even easier!
Connect With Us